
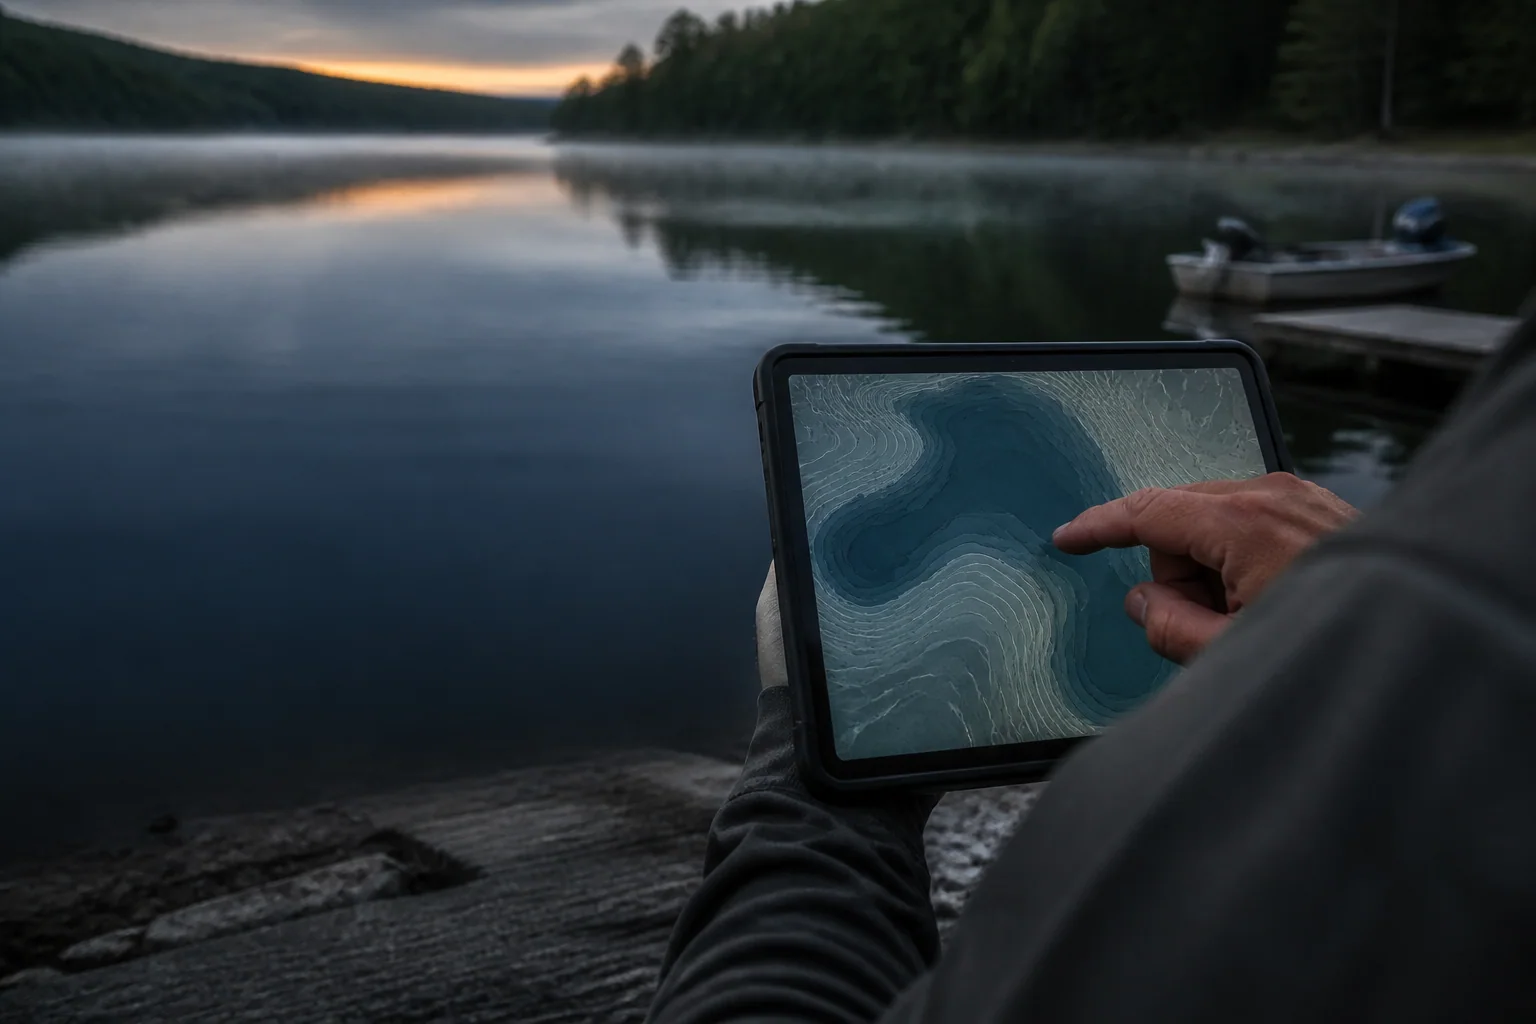
A lake depth map, often called a lake depth chart, can look busy when you first open it. Rings crowd the shoreline. Numbers sit at odd angles. A dark patch in the middle seems important, although it may only mean deep.
The useful part is simpler than it looks. A depth map is a topographic map turned upside down. Each contour joins places of equal depth. The spacing between those lines tells you how quickly the bottom changes. Their shape tells you what kind of underwater ground you are looking at.
You do not need to decode every line before leaving home. You need to answer three questions:
- Where does the lake get deep?
- Where does shallow water meet that depth in an interesting way?
- Which two or three places can you check without spending the morning driving around?
Here is a practical way to get there.
Read a lake depth chart in 60 seconds
If you are looking at a map on your phone at the ramp, start with this short pass:
- Check whether the contours are survey-backed or approximated.
- Find the main basin and note the contour interval.
- Compare the steep shore with the gradual shore.
- Pick one point, turn, flat edge, hump, or channel that connects shallow and deep water.
- Save a shallower or deeper adjustment close to it.
- Keep one stop that remains practical for the forecast wind and your access.
- Treat every saved spot as a place to inspect, not a promise that fish are there.
- Use the map for fishing plans, never as a substitute for current navigation information.
That is enough to leave home with a useful plan. The rest of this guide explains what each line and shape is telling you. You can open a DepthScout lake map and work through the list on a real chart as you read.
Before reading the contours, read the label
Not every contour line comes from the same kind of data.
On DepthScout, Survey depth data means the contours were derived from measured bathymetry: government soundings, digitized agency surveys, or hydrographic work. Approximated contours are modeled from the real shoreline and a sourced maximum depth. They are useful for understanding the broad basin, but a small bend in a modeled line should not be treated as a measured underwater feature.
That distinction changes how closely you should read the map. On a survey-backed chart, a point, hump, or channel has evidence behind its shape. On an approximated chart, stay with the larger pattern: shallow side, deep side, main basin, and likely transition zones.
DepthScout explains the labels in What “survey-backed” means on a lake depth map. Our data and methodology page names the source types behind them.
Find the basin before you hunt for spots
Start zoomed out. Ignore the most dramatic-looking contour for a minute and find the lake's basic shape.
Is it one bowl, two connected basins, a flooded river valley, or a long strip with a channel running through it? Where is the deepest water? Which shore reaches it fastest? Where do broad shallow areas extend away from land?
This first pass gives every later detail some context. A 12-foot flat means something different beside a 14-foot bowl than it does beside a 60-foot basin. The number alone is not the feature. The change around it is.
Look for the few places where shallow feeding water, a depth change, and nearby deeper water come together. Those are usually more useful starting points than the deepest number on the screen.
Read contour spacing as slope
Map room
Contour spacing is slope in disguise
The interval can stay the same while the horizontal distance changes.
More map distance between lines means more room for the same depth change.
Lines crowd together where the bottom changes depth over less distance.
Contour spacing is the quickest thing to learn and the easiest thing to use.
| What the lines do | What the bottom does | How to read it |
|---|---|---|
| Sit far apart | Changes depth gradually | Flat or gentle slope |
| Crowd tightly together | Changes depth quickly | Steep break or drop-off |
| Tighten on one side, spread on the other | Changes slope | Edge of a flat or transition |
| Close into a ring with shallower water inside | Rises from deeper water | Hump or shoal |
| Close into a ring with deeper water inside | Falls below surrounding bottom | Hole or depression |
Suppose the space between the 10- and 20-foot contours is wide on the north shore and narrow on the south shore. The north side slopes gradually. The south side drops fast. Neither is automatically better. They simply give fish different routes and give you different ways to present a bait.
One caution: contour interval matters. A map drawn every 10 feet cannot show the same small changes as one drawn every 2 feet. Smooth-looking lines may reflect a broad interval or sparse measurements, not a perfectly smooth lake bed.
Learn the seven shapes you will use most
Most useful fishing structure on a lake depth map is built from a small set of shapes. Once you recognize them, the map stops looking like spaghetti.
1. A point
A point is a tongue of shallow ground reaching into deeper water. On the map, contours bow away from shore.
Do not mark only the tip. Look at both sides, the first meaningful break, and the place where the point finally meets the basin. A long point can offer several depth zones without a long move.
2. An inside turn
An inside turn is an indentation in a contour or weed edge. Instead of pushing toward deep water, the line folds back toward shore.
It is easy to miss because it looks less dramatic than a point. It can still be useful: an inside turn interrupts an otherwise straight edge and creates a pocket along a travel route.
3. A breakline
A breakline is any strip where depth begins changing faster. The contour lines tighten, often along the lip of a flat or the wall of a channel.
Think of a break as an edge, not a single magic depth. Before launch, mark where the break begins, where it steepens, and where it bends. Those changes give you something specific to inspect on the water.
4. A hump
A hump is high ground surrounded by deeper water. Its contours form nested closed rings, with the shallowest value toward the center.
Check the top, but also check the side closest to another feature: a point, channel, saddle, or steep basin wall. An isolated circular hump is easy to see. A connected hump often gives you a more obvious route to it.
5. A saddle
A saddle is the lower neck between two high areas, such as two humps or a hump and a point. On a contour map it can look like a pinched waist.
Saddles matter because they connect structure. If you can identify the two highs, look between them rather than placing a marker on every ring.
6. A flat
A flat is a broad area with little depth change, shown by widely spaced contours. Flats can be featureless, but many are not. Their edges, small drains, isolated rocks, weed changes, or patches of harder bottom may matter more than their center.
On the map, start with the outer edge and any place where that edge makes a turn.
7. A channel or ditch
A channel appears as a band of deeper water winding through shallower surroundings. Contours bend upstream into a V-like shape, although the exact pattern depends on the map and reservoir.
Look for channel swings that approach a point, flat, or shoreline. A channel sitting alone in the basin gives you less to work with than a channel interacting with another piece of structure.
Turn the map into a three-stop plan
The most common planning mistake is saving too many pins. Fifteen promising places are not a plan. They are a second map.
Choose three stops with different jobs:
- The high-confidence stop. Pick an obvious, survey-backed feature near the seasonally relevant depth you intend to check first.
- The adjustment stop. Choose connected structure with room to move shallower or deeper without relocating across the lake.
- The weather stop. Save a place you can fish safely and effectively if wind, traffic, or visibility makes the first two awkward.
Then write one sentence beside each marker. “North side of point where 12 feet breaks to 20.” “Inside turn at west edge of main flat.” “Channel swing nearest the ramp.” A plain description is more useful at the launch than a cluster of unlabeled dots.
You can browse DepthScout's lake maps or use Find a lake to build the plan.
Depth is context, not a fish guarantee
A contour map shows the shape of the bottom. It does not show today's water temperature, clarity, oxygen, current, vegetation, bait, fishing pressure, or where fish decided to be at 8:15 this morning.
That is why the map works best as a way to shorten the search. Use it to choose the first stretch of water. Once there, let current conditions, visible cover, and your electronics decide whether to stay.
If the map says a point should top out at 8 feet and your sonar shows 11, do not argue with the screen. Water levels change. Datums differ. Old surveys age. Your live observation wins. How water level affects a lake depth map shows how to make a cautious adjustment.
Five mistakes that waste time
Mistake 1: Going straight to the deepest hole
Deep water is a location, not a reason. The edge leading into it, the nearby flat, or a piece of cover may be more useful than the center.
Mistake 2: Treating every wiggle as structure
Small contour bends can come from interpolation, contour smoothing, or limited sounding density. Give more weight to clear shapes that persist across several contours.
Mistake 3: Ignoring access and travel time
A beautiful feature 11 miles from the ramp may be a poor first stop on a windy half-day trip. Planning happens on the whole map, not just the bottom.
Mistake 4: Reading modeled contours like surveyed contours
An approximation can help you understand a lake's broad form. It cannot confirm that a tiny offshore knob was measured. Check the label first.
Mistake 5: Using a fishing map for navigation
Bathymetric data products commonly carry navigation warnings. NOAA's Bathymetric Data Viewer is explicit that its data are for planning and modeling, not navigation. DepthScout takes the same position. Use current official navigation products where required, watch conditions, and operate cautiously.
For a deeper look at where measured maps are available, read The Uneven Map Beneath the Water. When you are ready to turn the shapes into a short list, continue with How to find fishing spots on a lake map.