
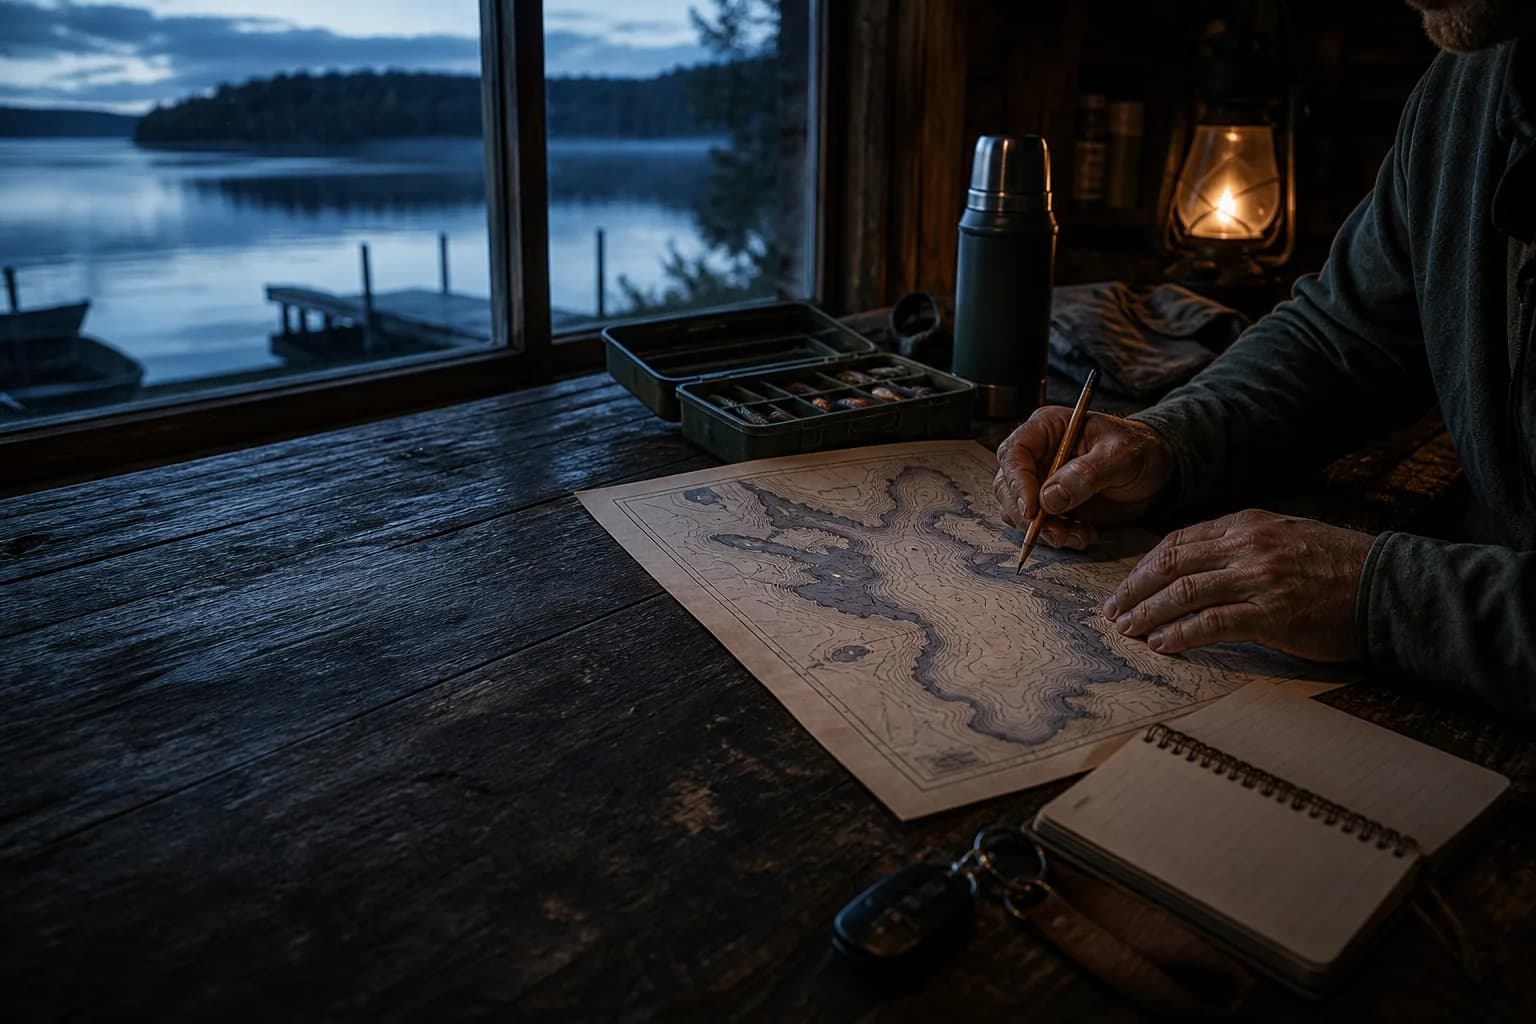
A lake map can show you 40 places that look fishy. That is not the same as telling you where to start.
The useful skill is not collecting waypoints. It is eliminating water. You want a short list of places that fit the fish you are after, the season, your access, and the conditions you can realistically fish.
This guide assumes you can recognize basic contour shapes. If points, humps, saddles, flats, and inside turns are still unfamiliar, begin with How to read a lake depth map. Then come back here and turn those shapes into a plan.
The fast way to narrow a lake
When you need a plan quickly, make three passes instead of dropping pins everywhere:
Map room
Turn a whole lake into three decisions
A useful plan removes water before it adds waypoints.
- Choose a neighborhood. Start with one or two parts of the lake that fit your target species, seasonal pattern, access, and weather.
- Find useful change. Look for a depth break, cover transition, channel swing, current seam, or contour turn inside that neighborhood.
- Save three adjustments. Pick a best-fit stop, a shallower or deeper option, and a place that remains fishable if conditions change.
The goal is not to predict an exact casting spot from home. It is to remove enough unproductive water that your first hour has a purpose. Find a lake near you, open its map, and use that lake as the example for the rest of this guide.
A fishing spot needs more than structure
An underwater point is structure. It is not automatically a good spot today.
A useful starting spot usually has four things working together:
- Relevant depth. At least part of the feature sits in water you have a reason to fish.
- A change. The bottom, cover, current, or shoreline does something different there.
- An adjustment route. You can move shallower, deeper, or around the feature without making a long run.
- Fishable conditions. Wind, access, boat traffic, current, and your equipment let you present a bait effectively.
That fourth point is the one a couch plan often misses. A perfect offshore hump is a poor kayak stop in a hard crosswind. A shaded bank is not useful if private property blocks access. The map is only one layer of the decision.
Start with the fish, not the prettiest contour
Before opening the map, decide what you are actually trying to catch.
Different species use structure and depth differently, and those preferences shift through the year. Even without memorizing a seasonal chart, you can make the first decision: are you looking for fish tied to the shoreline, to vegetation, to a drop into the main basin, to current, or to open-water bait?
That answer keeps you from treating every map feature as equal.
Use species as a filter, not a shortcut. These questions keep the first map pass honest:
| Target or starting pattern | Ask before placing a pin | Compare on the map |
|---|---|---|
| Bass around shore or offshore structure | Is the likely pattern tied to cover, a break, current, or open-water structure? | Points, inside turns, flat edges, channel contact, and nearby depth options |
| Crappie or perch | Are you looking for cover, a basin edge, a channel, or suspended bait? | Basin transitions, channel edges, connected depressions, and places to verify cover or bait |
| Pike | Is shallow vegetation likely to matter, and where is the nearest deeper escape? | Bays, broad flats, points, narrows, and the first useful break |
| Walleye or trout | Is the better starting clue structure, current, basin depth, or open-water forage? | Breaks, humps, saddles, channel edges, inflows, and access to the basin |
Those are planning prompts, not fixed rules. Water temperature, clarity, forage, current, vegetation, weather, and local behavior can all change the answer.
If you are planning around shoreline cover, eliminate isolated mid-lake structure for the first pass. If you need quick access to deep water, skip the back half of broad shallow bays. If current matters, start with river bends, channel swings, neck-down areas, and inflows rather than round basin contours.
DepthScout does this filtering when you select a species: it scores mapped structure against seasonal depth and habitat preferences and explains why a highlighted area was selected. The score is a way to shorten the search, not a claim that fish must be there.
On a DepthScout map, switch between the species you actually intend to target and compare which features remain useful across more than one plausible depth. That simple comparison turns a broad map into a focused question before the first cast.
Use the map in three passes
Trying to judge the whole lake at one zoom level makes every decision harder. Work from large to small.
Pass 1: Divide the lake into neighborhoods
Zoom out and identify the major zones:
- shallow bays and backwaters;
- the main basin;
- secondary basins;
- river or creek arms;
- narrows between larger areas;
- steep and gradual shores;
- major flats and offshore structure.
Choose the one or two neighborhoods most likely to fit your plan. Do not place a pin yet.
This is where access matters. A promising zone near a practical launch may deserve more time than a marginally better one at the far end of the lake. The Iowa DNR's fishing-atlas guidance highlights this broader planning value: anglers can combine contours and fishing structures with access and amenities before a trip. Its fishing atlas announcement is a useful example of a map built around the whole day, not only bottom shape.
Pass 2: Find change inside the neighborhood
Now zoom in and look for places where two things meet:
- a flat meeting a sharp break;
- a point reaching a channel;
- a creek bed swinging against shore;
- a hump connected to a saddle;
- an inside turn interrupting a straight edge;
- a hard shoreline transition beside deeper water;
- a narrow connection between a bay and the main lake.
The intersection is usually more useful than either feature by itself. “A point” is broad. “The outside edge of a point where the channel comes closest” is a place you can check.
Pass 3: Mark an area, not a pixel
Drop your waypoint on the part of the feature you want to inspect, but save enough context to move.
Instead of naming a marker “Spot 4,” write “12–20 ft break on west side of point.” Instead of “Hump,” write “north saddle and 18 ft edge.” That note survives a water-level change or a slightly inaccurate contour better than one exact coordinate.
Favor connected structure when you are learning a lake
Isolated structure can be excellent. It can also be an all-or-nothing stop.
Connected structure gives you a built-in search route. A point that runs from shore into the basin lets you check several depths. A channel swing beside a flat lets you move between the top, lip, and deep edge. Two humps joined by a saddle give you more than one high area and a travel corridor between them.
That flexibility matters most on a new lake because your first assumption may be wrong. If the fish are not on top, you can slide down the side. If they are not on the windward edge, you can check the protected turn. You learn something without leaving the neighborhood.
When choosing between two equally promising features, take the one with more good adjustments nearby.
Build a three-stop plan, not a pin collection
Save three starting areas with different roles.
Stop 1: The best fit
This is the feature that most clearly matches your species, depth expectation, and morning conditions. It should be specific enough that you know which part to check first.
Stop 2: The depth adjustment
Choose a related feature that gives you a meaningfully different depth without changing the entire pattern. If Stop 1 is a shallow point, Stop 2 might be the channel-facing end of a nearby point or the outside edge of the same flat.
Stop 3: The conditions adjustment
Pick a place that remains usable if the wind strengthens, the ramp area gets busy, or visibility changes. A protected inside turn, shorter kayak crossing, or accessible bank can save the trip even if it was not the first choice on paper.
Three stops force you to rank your thinking. They also leave room for the lake to teach you something.
Boat, kayak, bank, and ice plans are not interchangeable
The same contour map supports different spot choices depending on how you reach the water.
From a boat
You can cover more water, but long runs still consume time and fuel. Group stops by area. Pay attention to safe access, boat traffic, and whether wind lets you hold the angle needed to fish a break.
From a kayak or small craft
Crossing distance and exposure become part of the spot. A feature 300 yards from a protected launch may beat a textbook hump across open water. Choose an escape route before choosing a fishing route.
From the bank
Shoreline access comes first. Look for public land, piers, causeways, bridges, points, narrows, and steep contours that bring useful depth within casting range. A beautiful offshore feature beyond reach is not a bank spot.
On the ice
Access, ice conditions, pressure ridges, current areas, and local restrictions matter before contour shape. A waypoint is never evidence that the route to it is safe. Follow current local ice guidance and make conservative decisions.
Let wind help choose between similar spots
Wind changes both boat control and what is happening near the surface. It can make one side of a lake difficult to fish and another easy. It can also move warm surface water, plankton, and suspended material, but the biological response varies too much to reduce to “always fish the windy bank.”
Use wind first as a practical filter.
- Can you hold position or make a controlled drift?
- Will waves make the route unsafe for your craft?
- Does the wind hit the feature at a useful angle?
- Is there a nearby protected version of the same pattern?
A spot you can fish carefully and repeatedly is usually a better first stop than one where you spend the whole time fighting the boat.
Verify the map when you arrive
The map got you into the right neighborhood. Now look for confirmation.
Check whether the depth change begins where expected. Watch for vegetation edges, bottom hardness, bait, current, surface activity, and cover the contour map cannot show. Compare mapped depth with live depth and current lake level.
Give an area enough time to understand it, but do not stay only because the contour looked good at home. If the map and the water disagree, believe the water.
This is especially important on maps labeled Approximated contours. The broad basin can guide the search, but a fine-scale turn or offshore knob is not confirmed until you find it. What “survey-backed” means explains how much confidence each DepthScout label supports.
Avoid six map-planning traps
1. Marking every point
If the lake has 30 points, “fish points” has not eliminated much water. Rank them by depth access, connected structure, exposure, and proximity to the area you want to fish.
2. Choosing only dramatic structure
The tallest hump and steepest break draw the eye. Subtle inside turns, flat edges, and channel bends may receive less pressure and give you more usable water.
3. Picking one exact depth
A depth is a starting hypothesis. Save a feature that crosses a range so you can adjust.
4. Ignoring the route
Ramps, shoals, current, weather, and distance affect whether a spot is practical. Fishing maps do not replace navigation products or safe operation.
5. Confusing a spot score with certainty
A score organizes map evidence. It cannot see today's bait, water clarity, fishing pressure, or fish movement.
6. Refusing to leave
The goal of planning is to test good ideas efficiently. It is not to defend the first waypoint all morning.
A map-to-water checklist
Before leaving home:
- choose the species or pattern you are targeting;
- identify one or two lake neighborhoods;
- check whether the depth data are surveyed or approximated;
- save three stops with different roles;
- write the feature and depth range in each marker;
- check access, distance, wind, weather, and regulations;
- download or save what you need for poor cell service;
- carry the correct navigation and safety information for the water.
On the water:
- compare mapped and live depth;
- look for cover, bait, current, and bottom changes;
- adjust shallower, deeper, or around the feature before leaving;
- move when the evidence does not support the plan.
You can start that process in Find a lake or browse all DepthScout waters. If the charted depths do not match the day you launch, read How water level affects a lake depth map before moving your waypoints.